
Precision Fence Company of Long Island New England Arbors Keyhole Garden Project
991 - CN9671 - Blauw - Nike Air Max 1 By You Custom herenschoen - nike air max lays blue cheese commercial actor | nike shox agile for men sale in america today show - CQ4227 - Buy now Jordan AIR JORDAN XXXV - 004Our Keyhole Garden Project - Introduction.
Many decades ago, missionaries in Africa in partnership with local native communities came up with an ingenious way to grow crops in their specific environments. Many of the local communities the missionaries were serving continually struggled with lack of rainfall - and as a result - poor soil conditions to grow their crops.
The Keyhole Garden was indeed an ingenious design which allowed a 2-in-1 compact garden bed that offered both a rich planting environnment and a composting system in one package. The system required minimal water and provided rich composted material for the plants to thrive.
The local communities used readilly available items like stones, rocks, waste materials to create the walls of the garden bed.
We wanted to create a Keyhole Garden kit that offered the same benefits, but provided a compact design to be used throughout Backyard America.
Enjoy the photos and the different phases / steps in creating out Keyhole Garden.
Our Keyhole Garden - Part 1 - Assembly.
The first stage in creating our Keyhole Garden is to use common profiles that were available to us. We want to create a Keyhole Garden kit for any North American homeowner to assemble and use easily and quickly.
We do a great job in creating a huge variety of trellises, arbors, and planter boxes / beds so our design team quickly took to the task.
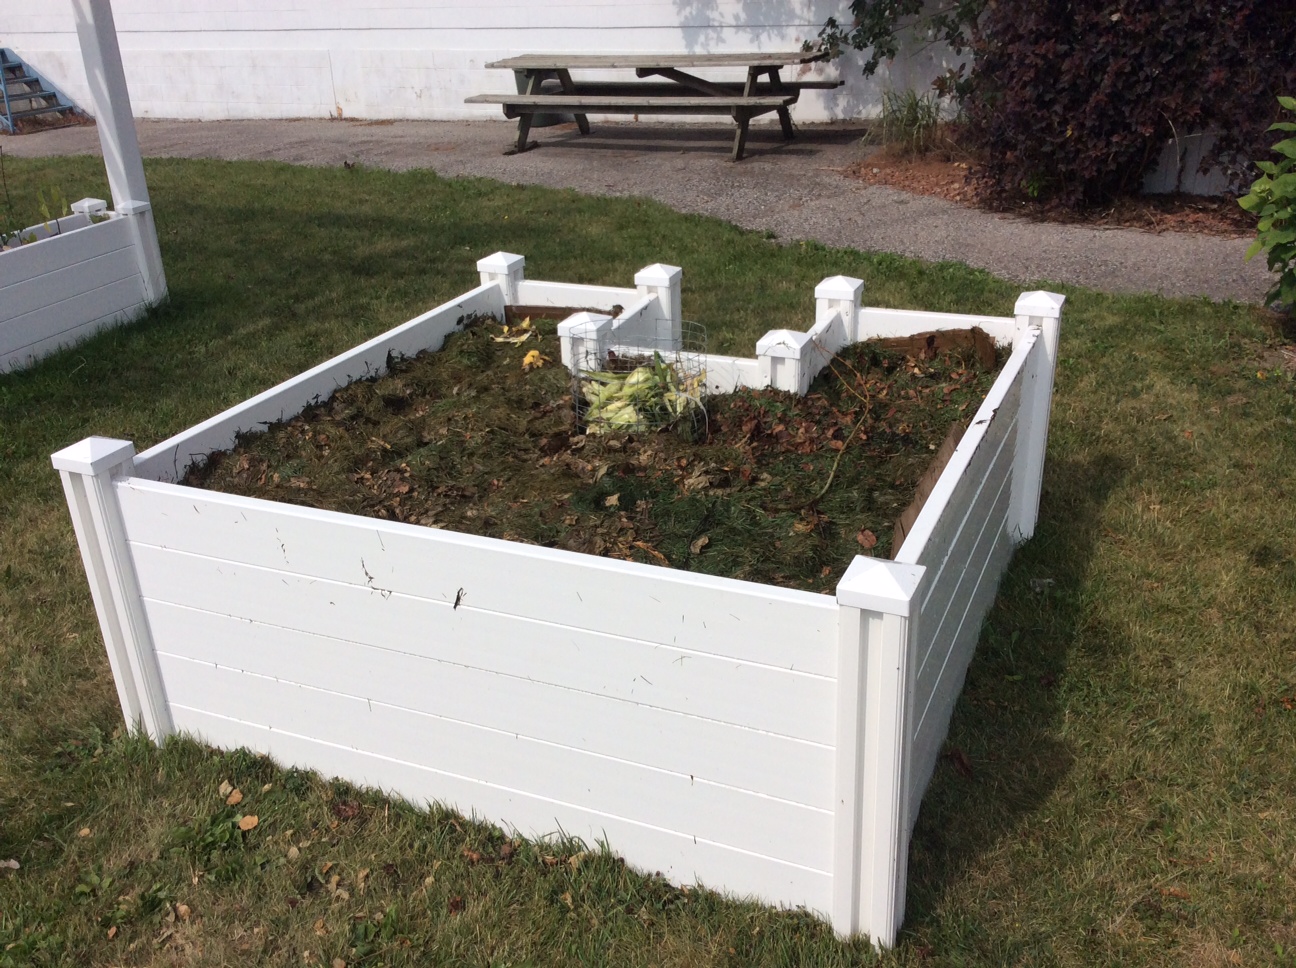
Here's a photo of the beginning stages of our Keyhole Garden being assembled.
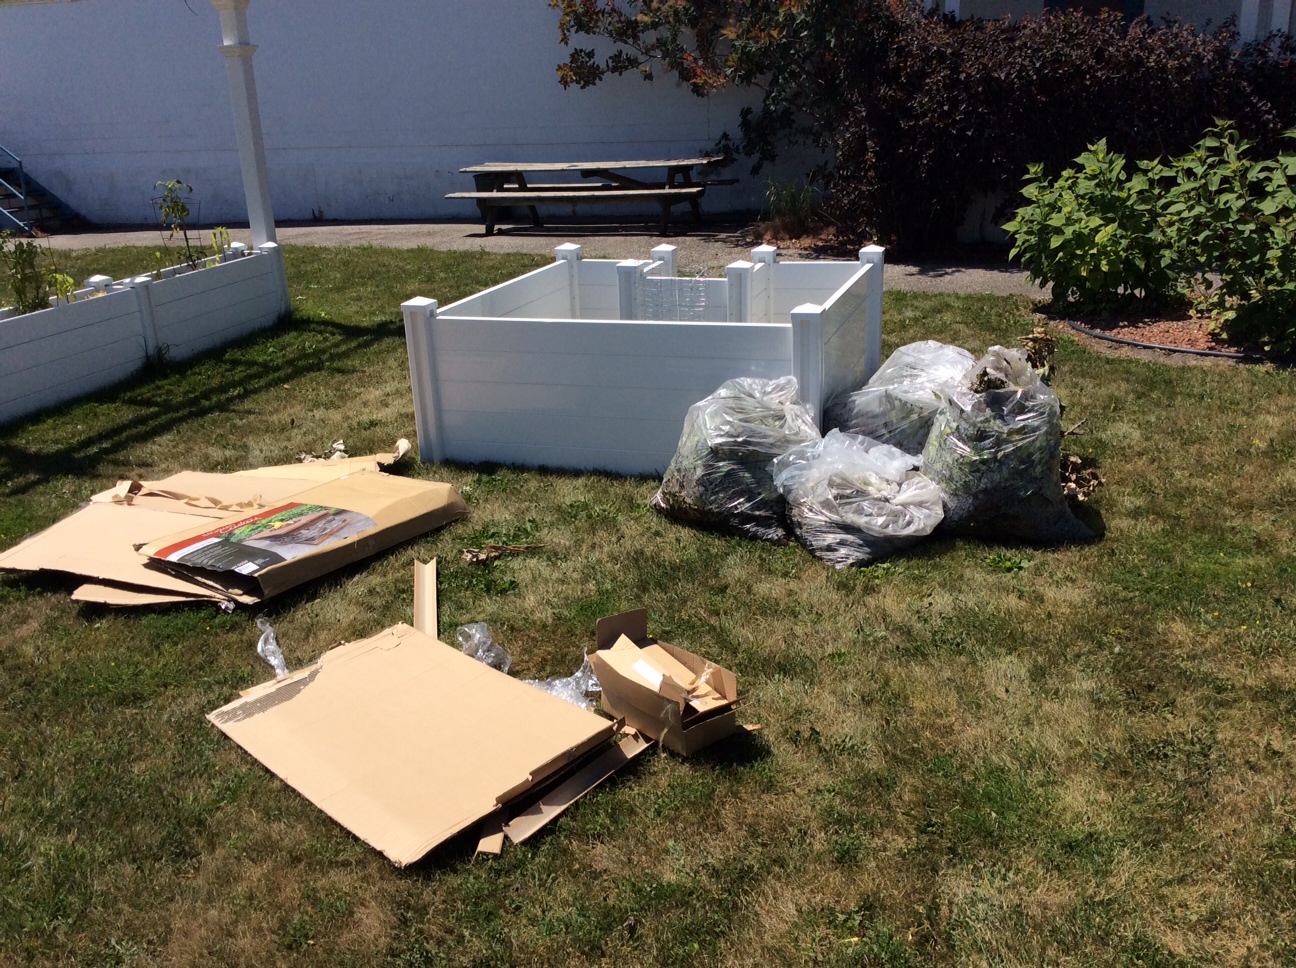
Our Keyhole Garden - Part 2 - Layering
The beauty of the Keyhole Garden is that common waste is compostable and can be used to start your garden. This means some of your household waste like cardboard - and even 100% cotton t-shirts and cloths - can be used and will naturally decompose.
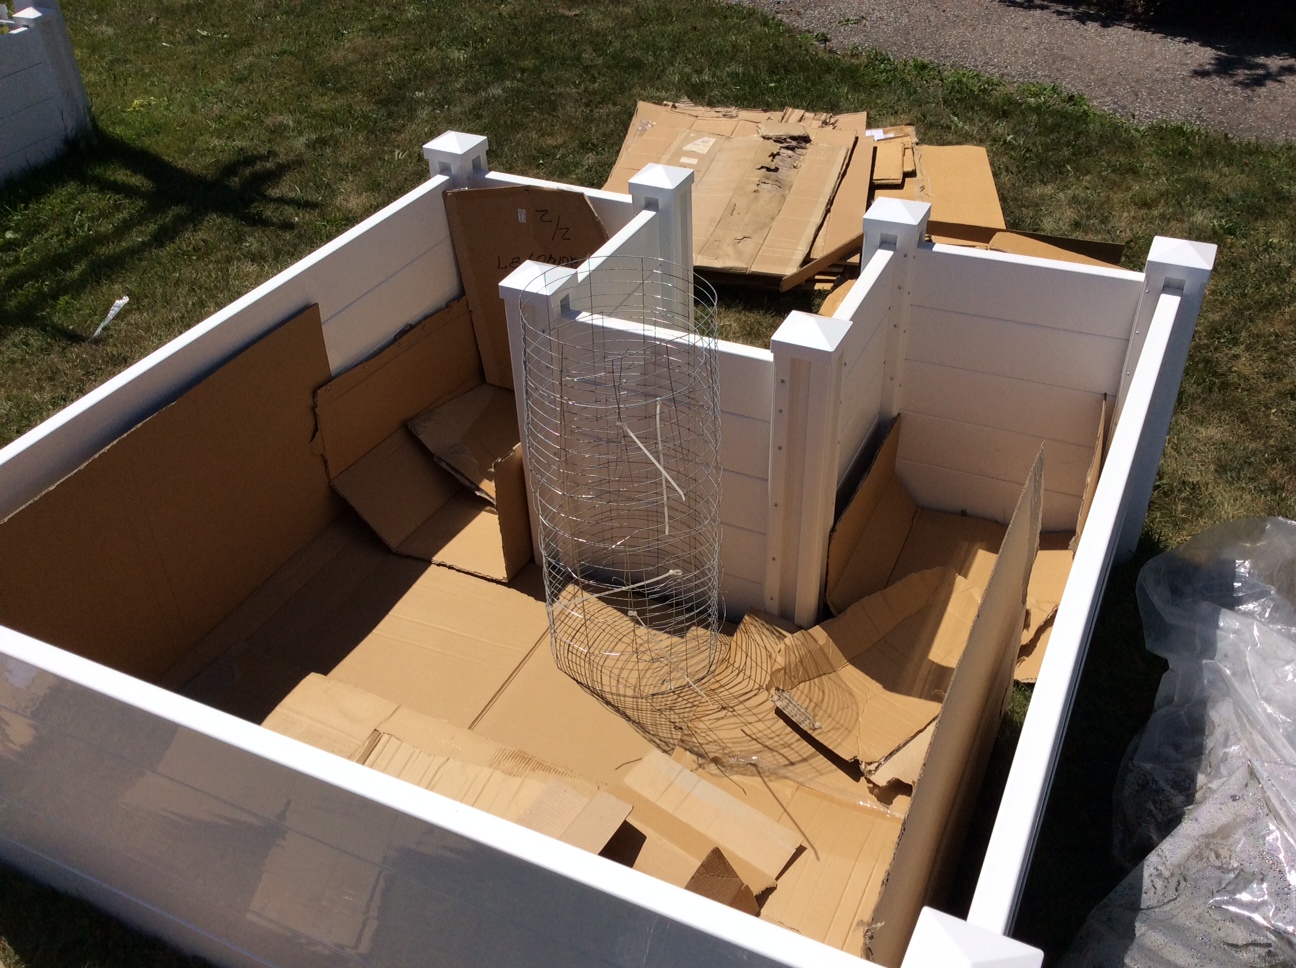
Layer 1 - Cardboard
In this case we used some of our cardboard (which was normally destined to the recycling plants) to line the bottom of our Keyhole Garden. This acts to keep all of the dirt into the system but will eventually decompose into rich nutrients for the plants we will be growing.
We used about 5-8 inches of layered cardboard on the bottom.
Once the cardboard was placed, we soaked all of it with water, and placed the Compost Tunnel. In this case we used some welded wire to create our tunnel. We also put some rocks on the bottom of the tunnel to help with encouraging the compost to enter into the bed area.
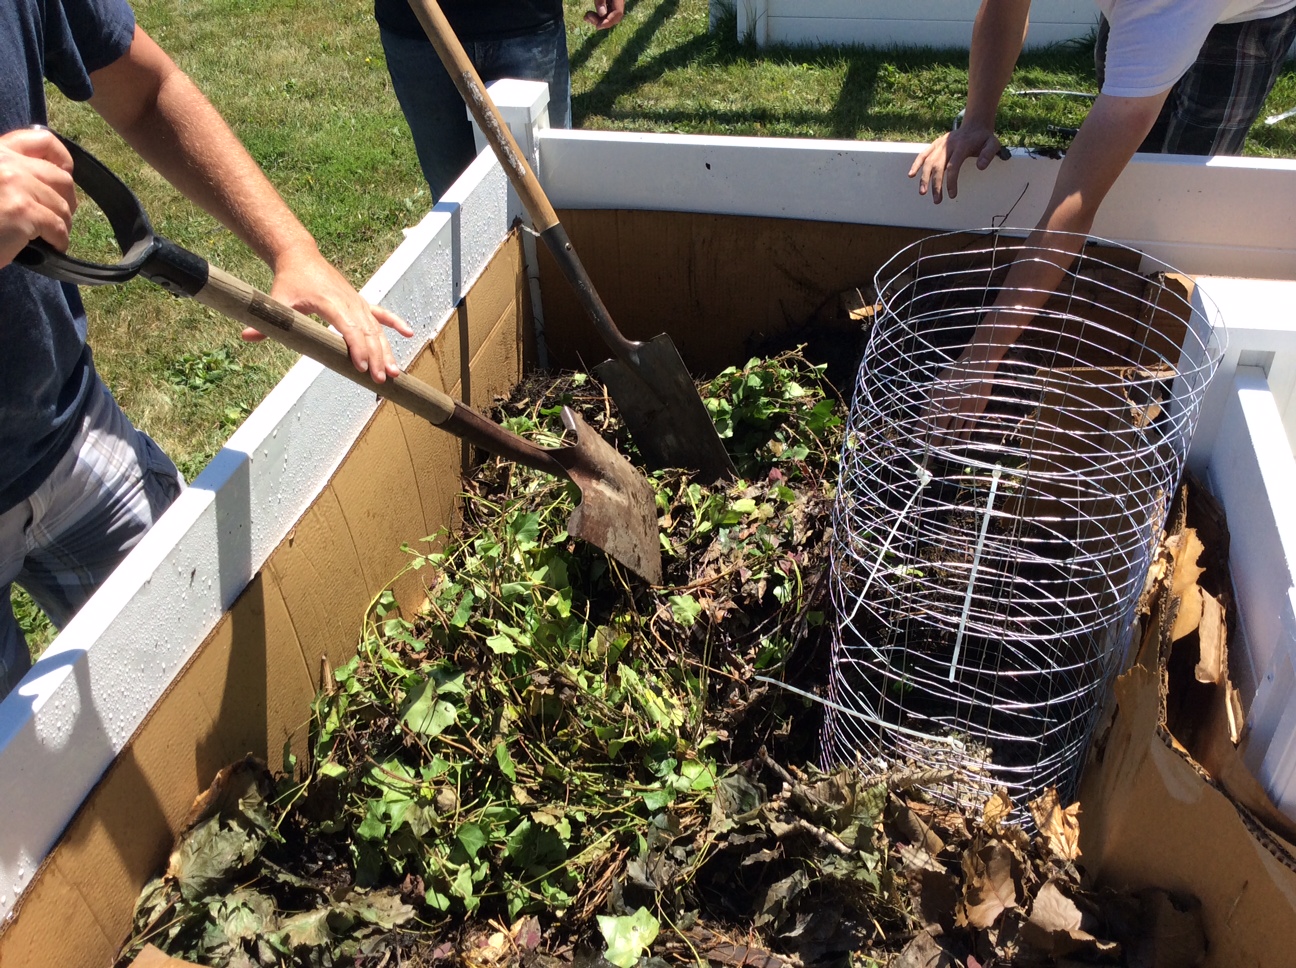
Layer 2 - Twigs, leaves and sticks.
Layer 2 consisted of about 8" of leaves, twigs and random brush from around the yard. This was also watered down to help encourage the composting process. The twigs also provide air gaps for this composting process.
Layer 3 - Grass Clippings
Layer 3 consisted of bags and bags of grass clippings - up to about 6 inches.
Layer 4 - Compost
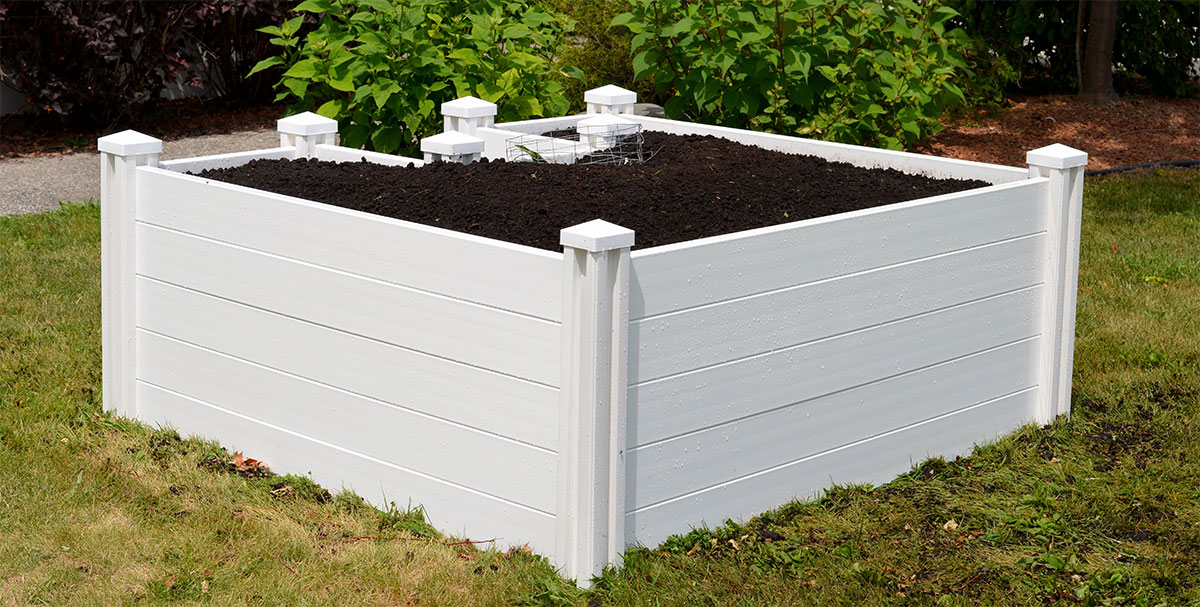
Layer 4 consisted of getting about 3/4 yards of compost (we bought from our local city compost site). It cost us about $15.00. You can also use sawdust for this layer too - but compost is ideal because it helps kickstart the whole process.
Below is the final image of our Keyhole Garden before plants have been placed.
Our Keyhole Garden - Part 3 - Composting
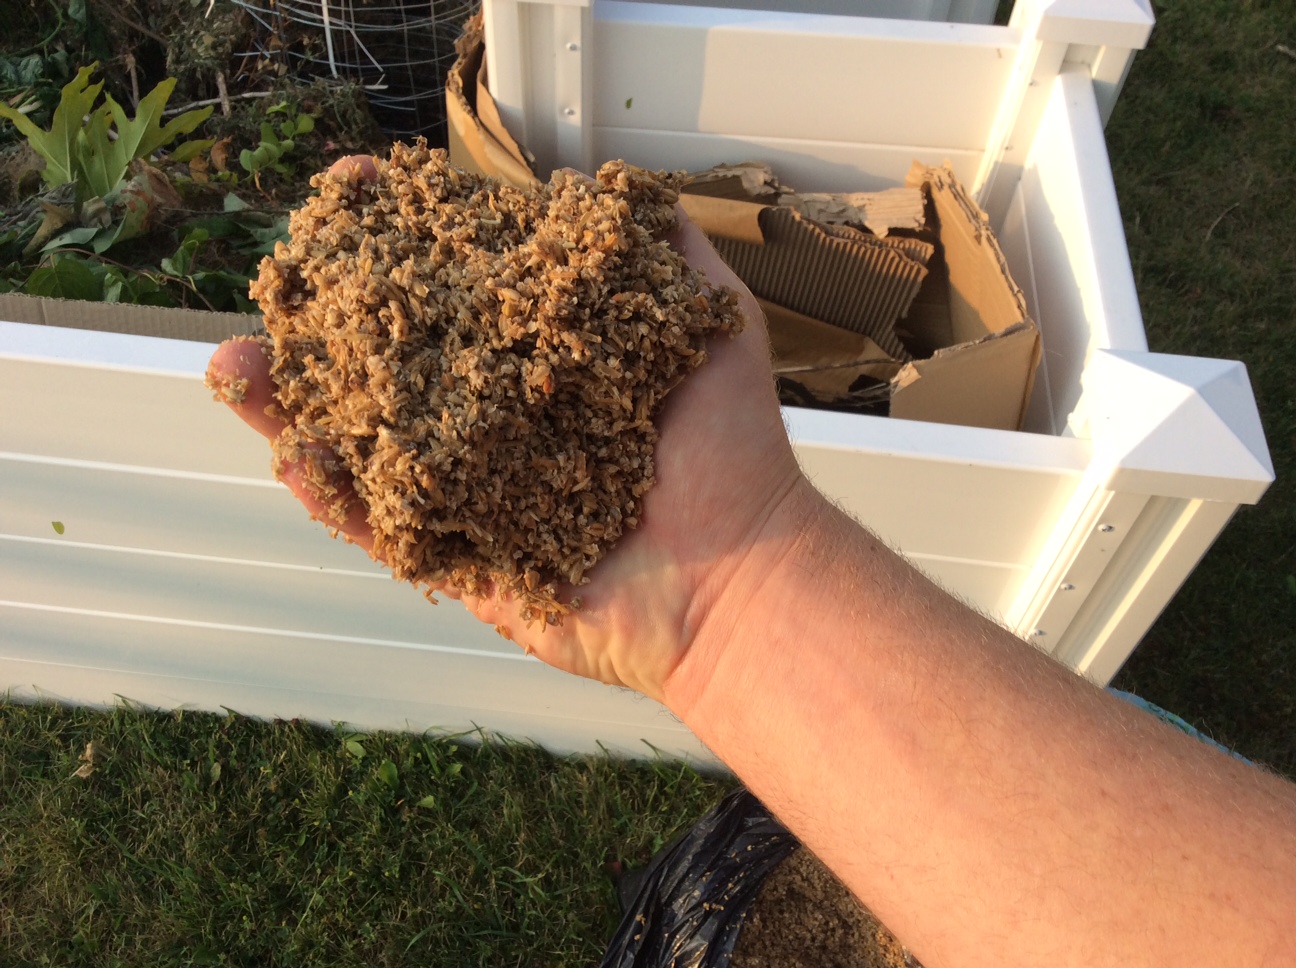
Part 3 is the fun part. Here's where you can add all of your kitchen scraps (except dairy or meat) to your compost tunnel instead of your waste container. This magical process creates nutrient rich soil for your new vegetables reducing waste that goes into the trash bin by up to 25%
We had saved about 30 lbs of spent grains from a recent beer making recipe, and this was the first to go into the compost tunnel.
Load up your compost tower with all of your vegetable scraps and that will fuel your garden.
When watering the Keyhole Garden, we only need to water down the compost tunnel as it will push all of the nutrients into the soil.
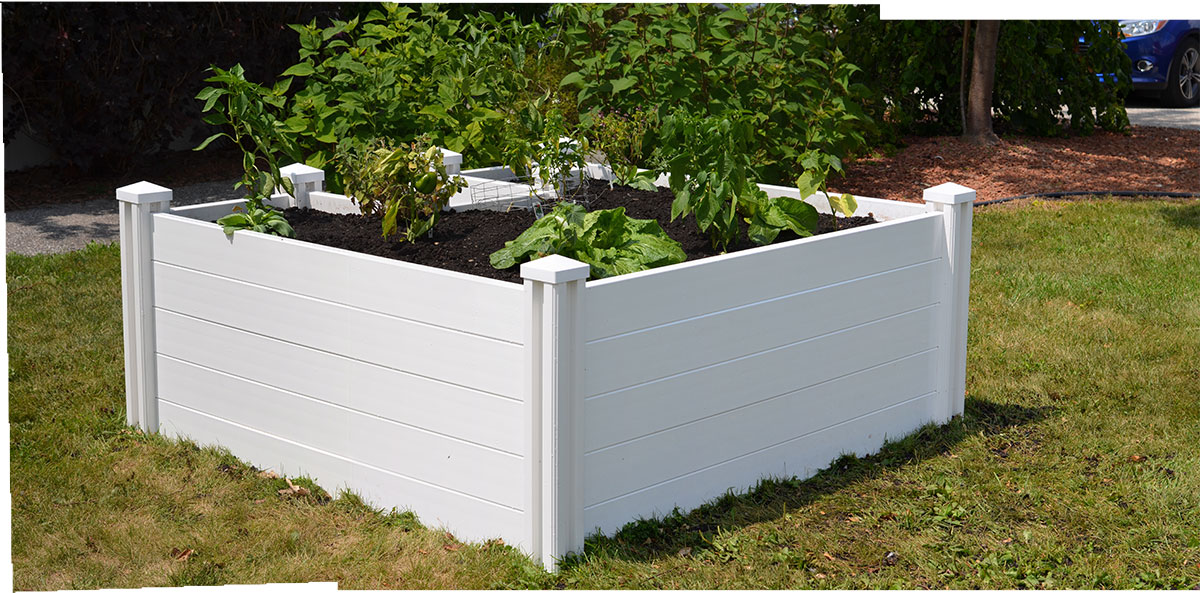
Below is a final photo of our Keyhole Garden with some of our plants that we transplanted from our other planters.
We are also going to plant some seeds to see if we can grow some kale and spinace throughout the winter!


